Компания PRANCE Metalwork – ведущий производитель металлических потолочных и фасадных систем.


A Step-by-Step Guide to Installing Panels for Your Commercial Ceiling
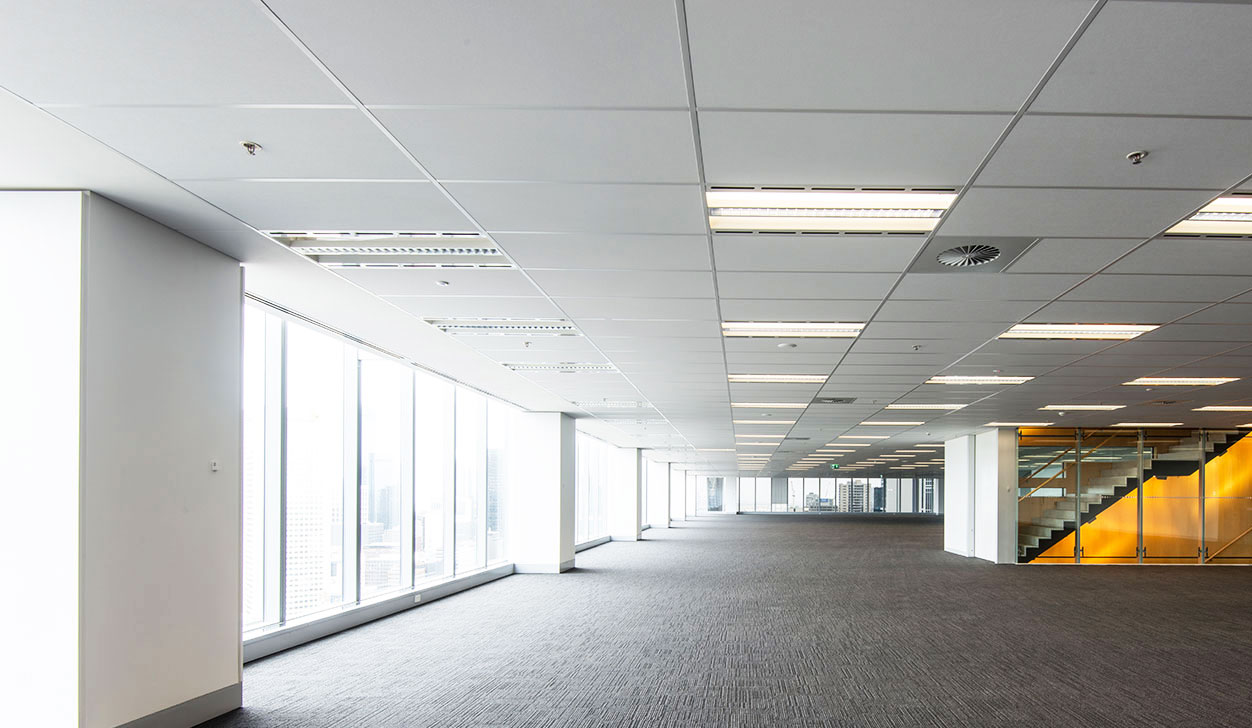
Установка Панели для потолка Системы в бизнес -среде требуют точности и соответствующего понимания. Независимо от того, устанавливаете ли вы потолок в офисе, гостинице, розничном магазине или бизнесе, правильная установка гарантирует, что потолок является визуально привлекательным и практичным. С учетом советов по инструментам, методам и лучшим практикам, это руководство предлагает тщательный, подробный пошаговый метод, который поможет вам эффективно установить потолочные панели.
Следуя этим руководящим принципам предоставить профессионально выглядящий потолок, подходящий для текущей корпоративной среды. Кроме того, знание конкретных потребностей вашей области, включая акустику или интеграцию освещения, может значительно улучшить результат. Хорошая установка гарантирует долгосрочную долговечность и небольшое обслуживание в дополнение к лучшему внешнему виду.
Шаг 1: планирование и подготовка
Основой хорошей установки потолочной панели является хорошее планирование.
Оценивать пространство
● Рассчитайте количество панелей, сначала измерение площади потолка.
● Назовите любые проблемы, включая разбрызгиватели, освещение или воздуховоды.
Выбирать правые панели
● Материал: Основываясь на вкусах дизайна и долговечности, выберите из алюминия, нержавеющей стали или титановых панелей.
● Стиль : Для акустики подумайте о простых панелях для минималистского стиля или перфорированных панелей.
Собирать Необходимые инструменты
● Для маркировки измерения используйте рулетку, уровни и мела.
● Режущие инструменты, упражнения и отвертки установщиков.
● Аксессуары для безопасности, в том числе перчатки и очки.
Создавать план макета
● Постройте потолочную сетку и расположение панелей в эскизе.
● Убедитесь, что HVAC детали и освещение.
Шаг 2: установка системы подвески

Правильная установка системы подвески поддерживает потолочные панели.
Набор периметр
● Отметьте периметр потолка с помощью линии уровня и мела.
● Привинтите углы стены или обрезку периметра вдоль указанной линии.
Установить Главные бегуны
● Прикрепите главных бегунов - от потолочных балок - используя провода или стержни.
● Распространение бегунов в зависимости от размера панели- для двух на двух панелей, скажем, 24 дюйма друг от друга.
Добавлять Перекрестные футболки
● Вставьте кросс -футболки между основными бегунами, чтобы сформировать сетку.
● Закрепите соединения, чтобы убедиться, что сетка стабильна и выровена.
Проверять для выравнивания
● Используйте уровень, чтобы убедиться, что вся сетка была ровной.
● При необходимости отрегулируйте подвесные провода.
Шаг 3: подготовка коммунальных систем

Перед установкой панелей интегрируйте освещение, HVAC и другие утилиты.
План Вырезы
● Отметьте участки, где свет, вентиляционные отверстия или разбрызгивания проходят через панели.
● Вырежьте отверстия на панелях, используя соответствующие инструменты.
Установить Утилиты
● Монастые светильники, воздушные вентиляционные отверстия и разбрызгиватели на сетку.
● Убедитесь, что все соединения безопасны и соответствуют правилам безопасности.
Шаг 4: Потолочные панели режут
Настройка панелей в соответствии с нерегулярными пространствами или вокруг препятствий является критическим шагом.
Мера и Марк
● Используйте рулетку, чтобы определить точный необходимый размер.
● Отметьте режущие линии на панелях маркером или мелом.
Резать с точностью
● Используйте металлические ножницы или мозаком для чистых порезов.
● Разгладьте края файлом, чтобы предотвратить травмы или неровную подгонку.
Тест Соответствовать
● Поместите панель в сетку, чтобы убедиться, что она соответствует должным образом перед продолжением.
Шаг 5: Установка панелей

С сетью и коммунальными услугами пришло время установить панели.
Вставлять Панели
● Немного наклоните каждую панель, чтобы вписать ее в сетку.
● Опустите панель, пока она не встанет надежно на месте.
Выровнять Панели
● Убедитесь, что панели промывают с сетью.
● При необходимости отрегулируйте для бесшовного внешнего вида.
Безопасный Светильники
● Прикрепите дополнительные зажимы или опоры для более тяжелых панелей или приспособлений.
Шаг 6: Последние штрихи
Законные штрихи усиливают внешний вид и функциональность потолка.
Добавлять Одежда и формование
● Установите декоративные отделки или формование по краям для полированного вида.
● Убедитесь, что все суставы и швы выровнены.
Осмотреть Для пробелов или свободных панелей
● Проверьте весь потолок на предмет пробелов или смещенных панелей.
● При необходимости отрегулируйте, чтобы поддерживать равномерную поверхность.
Шаг 7: Советы по техническому обслуживанию долговечности
Сохранение потолка в хорошем состоянии позволяет ему быть полезным и при этом хорошо выглядеть с течением времени.
Обычный Уборка
● Чтобы удалить грязь и мусор, запустите мягкую ткань или тряпку.
● Избегайте абразивных средств для защиты металлических покрытий.
Периодический Проверки
● Проверьте наличие свободных панелей или поврежденных компонентов сетки.
● Немедленно решайте любые проблемы, чтобы предотвратить дальнейший ущерб.
Обновлять Коммунальные услуги
● Убедитесь, что все компоненты освещения и HVAC работают эффективно.
● Замените изношенные или устаревшие приспособления по мере необходимости.
Преимущества установки панелей для потолка в коммерческих помещениях
Увеличен Эстетика
● Придает предприятиям, отелям или розничным магазинам чистый и современный внешний вид.
● Доступно в различных отделениях, чтобы дополнить любой стиль.
Улучшен Акустика
● Шум обрезается в оживленных настройках с перфорированными панелями с акустической поддержкой.
● Конференц-залы, лобби и офисы открытой планировки идеальны.
Долговечность и долговечность
● Металлические панели могут взять на себя износ во время использования, не уменьшая их производительность в течение длительного времени.
● Устойчивые к влаге и коррозии, они подходят для областей высокой влажности.
Легкое обслуживание
● Панели просты в очистке и обслуживании, снижая долгосрочные затраты.
● Поврежденные панели могут быть заменены без нарушения всей потолочной системы.
Заключение
При правильном выполнении установка панелей для потолочных систем в бизнес -средах является простой задачей. От проектирования и подготовки до установки и технического обслуживания, каждый шаг имеет жизненно важное значение для получения профессионального результата. Эти панели увеличивают полезность и выносливость вашей рабочей станции в дополнение к их внешности. Хорошо установленный потолок может изменить всю атмосферу, что улучшит профессионализм и приглашение качества области. Следование надлежащим шагам и отличные инвестиции в материалы помогут вам создать визуально привлекательное и долговечное потолочное решение.
Для высококачественных потолочных решений, доверие Пранс -металлургический материал строительный материал Co. ООО . Наши премиальные панели предназначены для удовлетворения требований современных коммерческих помещений. Свяжитесь с нами сегодня, чтобы поднять дизайн потолка.
Изготовленная на заказ металлическая панель